I don’t know about you but doing laundry and actually being on top of it has always been a struggle. We when we were first married I was able to get it all done on one day. But as you well know, when children come long that changes FAST! I was stubborn and it took me several years before I accepted that one laundry day wasn’t going to work. I didn’t want to accept that I should really do it every day. Finally I gave in and started doing a load every day but even then I would get behind. I wouldn’t get the clothes folded and put away quickly enough. Laundry is a hot spot for me. If I see clothes on the floor, dirty or clean, I feel stressed! It is one area that if it is complete I can feel some level of accomplishment. I needed to find a system that worked. This last Spring Break I developed a system that works and I have been on top of the laundry ever since.
1) Wash at least one load of laundry every day (depending on the needs of your family), except Sundays, a day of rest.
2) As soon as the wash is done, put it in the dryer to prevent that awful musty smell.
3) When the first load is almost dry start the next load. This too helps prevent the wet cloths setting too long as they wait for the dryer.
4) Fold the clothes as you take them out of the dryer and place in a laundry basket.
5) Carry the basket with you as you put the clean laundry in its place. If your kiddos put away their own clothes, leave their clothes for them on their bed or another spot where they will see them.
The system is actually very simple, it just requires you to follow through and not use the “I’ll do it later” excuse.
Welcome
I have entered the world of blogging! My purpose? To stay connected to friends and family and invite you into my world. A world filled with fun, tears, laughter, excitement, elation, disappointment and all the blessings of being a mother and wife.
Tuesday, June 7, 2011
A laundry system that works!
Thursday, June 2, 2011
End of school surprise...Summer fun buckets
Each year I do a little something special to honor the end of the school year. Grace works hard at school, I want to recognize that and it is fun to usher in the new season too. This year I decided to fill sand buckets with a few simple treats for the girls. Since Jilian and I did preschool at home together this year, she gets a treat too!
Am sharing at:

What's inside?
Sand bucket and shovel: yard sale $1 for each set
Grace's Bucket:
Crayola's color bubbles: JoAnn's $3.99 a bottle *Target has them cheaper*
Flip Flops: JoAnn's on sale $1.89
Fruit Snacks: Target $.89
Form Critter Art Activity: Dollar Spot Target
Pedicure by Mom: Priceless :-)
Jilian's Bucket:
Sidewalk chalk: Dollar Spot Target
Flip Flops: JoAnn's on sale $1.89
Fruit Snacks: Target $.89
Form Critter Art Activity: Dollar Spot Target
Pedicure by Mom: Priceless :-)
Monday, May 30, 2011
Monday, May 23, 2011
Treat Tuesday for Ten on Tuesday
Here is a yummy poppy seed muffin recipe, that I actually made up myself! Jilian LOVES poppy seed muffins. I have tried a few recipes but didn't care for them so I decided to make one up and they are good, much to my surprise! :-)
For fun I'm sharing the recipe at It's a Crafty Life for Ten on Tuesday since there are TEN ingredients in the recipe.

Poppy Seed Muffins

Poppy Seed Muffin Recipe
2 cups flour
¾ cup plus 1 tablespoon sugar
1 teaspoon baking powder
1 teaspoon baking soda
½ teaspoon salt
1 cup plain Greek yogurt
¼ cup unsalted butter, melted and cooled
1 large egg, lightly beaten
1 ½ teaspoons vanilla (you can substitute vanilla for almond, yum!)
2 tablespoons poppy seeds (check your bulk spice section at the grocery store, very inexpensive)
Preheat oven to 400. In a large bowl stir together flour, ¾ sugar, baking powder, baking soda and salt. In another bowl, stir together yogurt, butter, egg and vanilla until well blended. Mix the dry ingredients into the yogurt mixture and stir. Gently stir in poppy seeds.
Bake for 15 to 20 minutes, adjust time depending on the size of your muffin. Cool for about 5 minutes. Makes approximately 12 regular size muffins or 24 mini muffins.
Enjoy!
*Updated* Decided to link up to:
For fun I'm sharing the recipe at It's a Crafty Life for Ten on Tuesday since there are TEN ingredients in the recipe.
Poppy Seed Muffin Recipe
2 cups flour
¾ cup plus 1 tablespoon sugar
1 teaspoon baking powder
1 teaspoon baking soda
½ teaspoon salt
1 cup plain Greek yogurt
¼ cup unsalted butter, melted and cooled
1 large egg, lightly beaten
1 ½ teaspoons vanilla (you can substitute vanilla for almond, yum!)
2 tablespoons poppy seeds (check your bulk spice section at the grocery store, very inexpensive)
Preheat oven to 400. In a large bowl stir together flour, ¾ sugar, baking powder, baking soda and salt. In another bowl, stir together yogurt, butter, egg and vanilla until well blended. Mix the dry ingredients into the yogurt mixture and stir. Gently stir in poppy seeds.
Bake for 15 to 20 minutes, adjust time depending on the size of your muffin. Cool for about 5 minutes. Makes approximately 12 regular size muffins or 24 mini muffins.
Enjoy!
*Updated* Decided to link up to:
Friday, May 20, 2011
Thursday, May 19, 2011
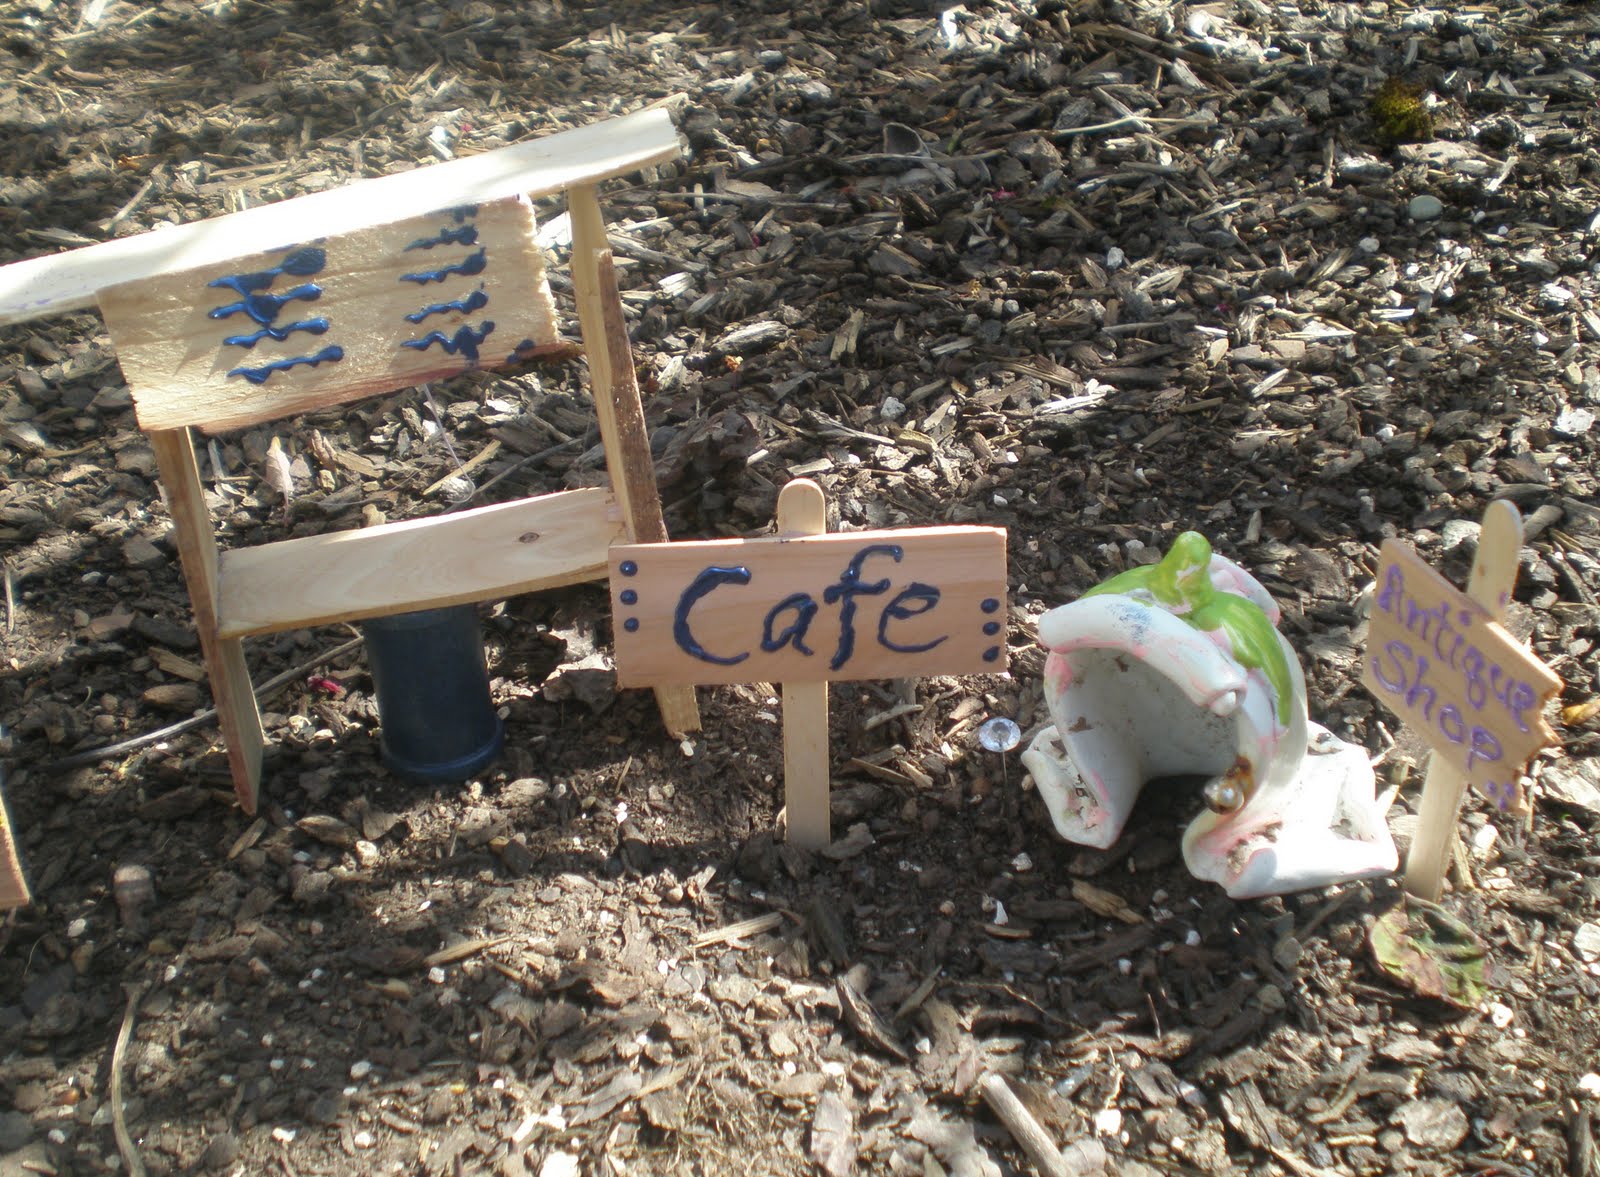
The making of a fairy village
A few weeks back, on a rare sunny day, the girls and I spent the afternoon creating a fairy village. We collected little bits and pieces around the house to create signs, a park bench, tables and chairs. Most of the time I just watched (and snapped pictures of course!) as Grace created and Jilian played in the dirt.


Now we are just waiting for the fairies to arrive... :-)
*Updated* Decided to share at:

Now we are just waiting for the fairies to arrive... :-)
*Updated* Decided to share at:
Tuesday, May 17, 2011
Brooch Swap
I wanted to share the lovely treats I received from my Vintage Brooch Swap partner, Pam from Treasures-n-Textures.


Here are the goodies I sent to Pam. I loved the brooch so much it was hard not to keep it!

Here are the goodies I sent to Pam. I loved the brooch so much it was hard not to keep it!
Subscribe to:
Posts (Atom)